As a courtesy we have provided this information about how to conifgure your account in this product, but we do not endorse or directly support third-party products, and we are not responisble for the functions or reliability of the product. The following directions are for adding a new account. If the account already exists in your email client then you will need to simply edit the account settings to match those outined in http://knowledge.3essentials.com/web-hosting/article/1798/How-do-I-configure-my-email-client.html.
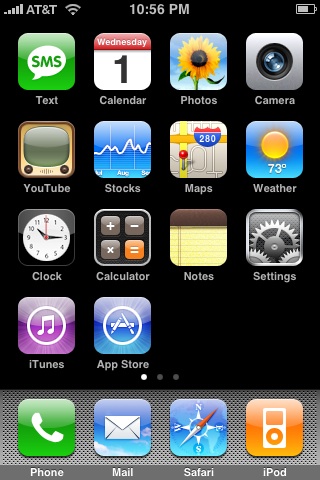
1. From the Dashboard, select Settings.
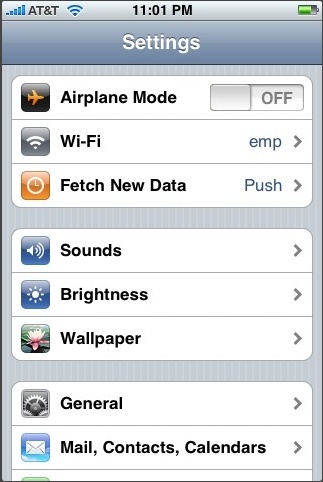
2. Under Settings, select Mail, Contacts, Calendars.
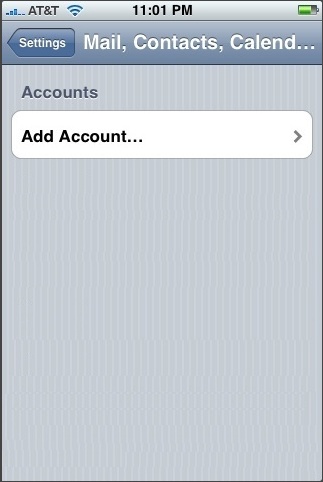
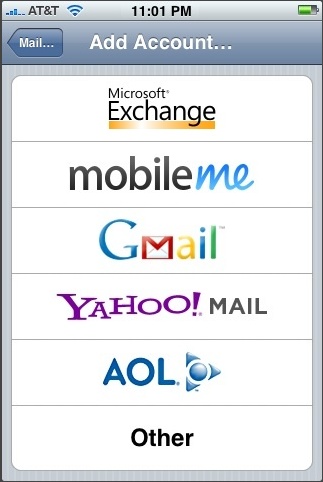
3. Select Add Account...
4. Select Other as the type of account.
5. Enter the requested information:
Name: the name of the mail user
Address: the email address of the mail user, (ie user@yourdomain.com)
Password: enter the users password (incoming mail server and external mail server)
Description: a description of the mail user
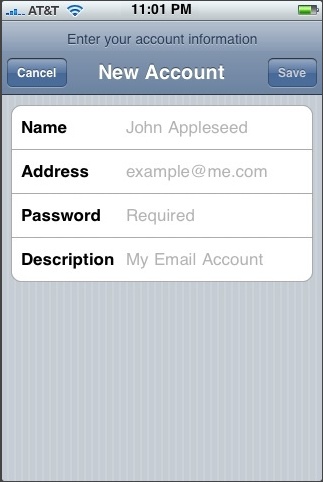
7. Tap Save
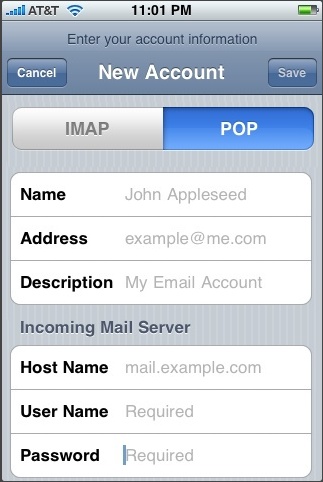
8. Select IMAP or POP.
9. Enter the Incoming and Outgoing Mail Server Information. All fields are required for both Incoming and Outgoing Mail server.
Incoming and Outgoing Mail Server: ( replace yourdomain.com with your domain )
Host Name: mail.yourdomain.com
User Name: enter the full email address
Password: enter the users password
10. Tap Save.
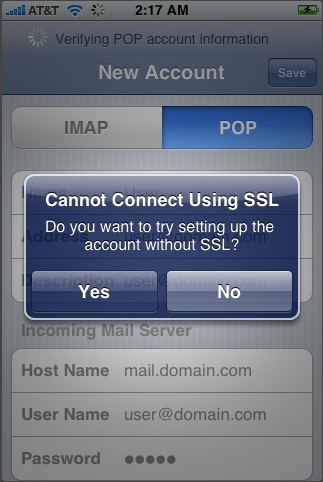
11. A message that says "Cannot Connect Using SSL" will appear, tap Yes when asked to setup the account without SSL.
12. Click Settings for the account you just created.
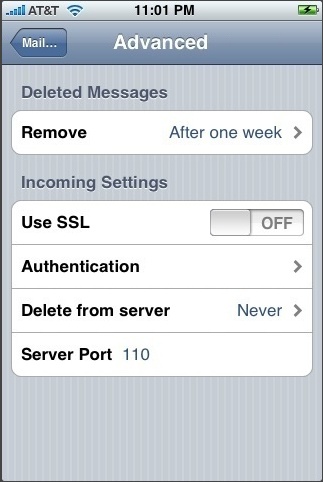
13. Click Advanced.
14. Set Incoming Use SSL and Outgoing Use SSL to OFF
15. Under Incoming settings, click Authentication and select Password.
16. Under Outgoing settings, click Authentication and select Password.
|
 KB
KB