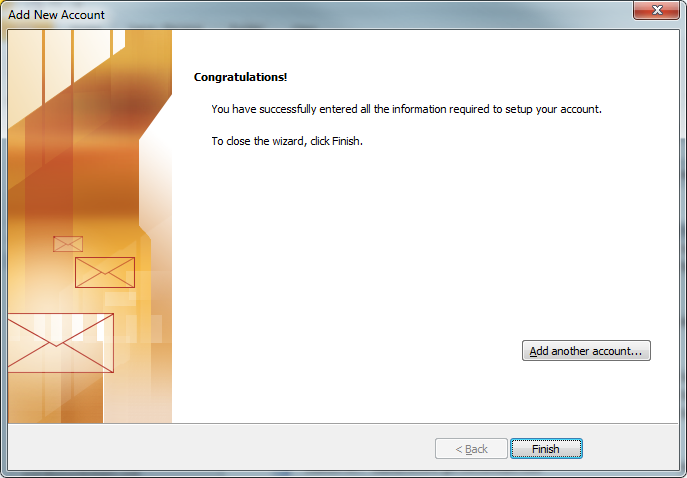
1. Click File and then Add Account.
2. Select Manually configure server settings or additional server types. Click Next.
3. Select Internet E-Mail. Click Next.
User Information:
Your Name: The name of the mail user
E-Mail Address: The email address of the mail user, (ie user@yourdomain.com)
Server Information:
Account Type: POP3 or IMAP
Incoming Mail Server: mail.yourdomain.com
Outgoing Mail Server: mail.yourdomain.com
Logon Information:
User Name: Enter the full email address
Password: Enter the users password
[ ] Log on using Secure Password Authentication (SPA) Leave unchecked.
5. Click on More Settings.
6. Select the Outgoing Server Tab. Check My outgoing server (SMTP) requires authentication. Select Use same settings as my incoming mail server.
7. Select the Advanced tab.
Incoming Server (POP3 or IMAP): For POP3 use Port 110. If you are using IMAP the port is 143.
[ ] This server requires a secure connection (SSL) Unchecked.
Outgoing Server (SMTP): 25 or 2525
Certain ISP's block port 25, so use 2525 for the SMTP port. For dedicated servers, Port 2525 isn't added as an alternate port by default. If you need us to open this port for you please submit a support ticket.
In the Use the following type of encrypted connection dropdown, select None
8. Click Ok. Click Next. Click Finish
